How to Install Kubernetes for Tracardi

This post is the first of a series of articles dedicated to guiding you through the installation and deployment of a production-ready open-source Tracardi system. This series will cover every step in detail, ensuring you can harness the full potential of Tracardi's powerful customer data platform. From setting up a robust Kubernetes environment to optimizing Tracardi for high performance and scalability, each article will provide practical insights and hands-on instructions. Whether you're a seasoned developer or new to Tracardi, this series is designed to equip you with the knowledge and tools needed to successfully deploy and manage Tracardi in a production environment.
Why Kubernetes
Using Kubernetes (K8s) as a platform for hosting Tracardi offers numerous benefits, including scalability, high availability, and efficient resource management. Kubernetes ensures that your Tracardi instances can handle increased load by automatically scaling, and it provides a robust environment that can recover from hardware failures without downtime. Additionally, Kubernetes' container orchestration capabilities simplify the deployment and management of Tracardi, making it an ideal choice for maintaining consistent and reliable operations.
Installing Kubernetes for Tracardi Using k3s
We advise using k3s as a simple K8s cluster. To do so, you will need at least 3 machines or VPSes. Follow these steps to install a k3s cluster with at least 3 nodes:
Step 1: Install k3s on the First Node
On your main server node (Master), run the following command to install k3s:
curl -sfL https://get.k3s.io | sh -
This will install k3s and start it as a service. To get the token required for adding agent nodes, run:
sudo cat /var/lib/rancher/k3s/server/node-token
Step 2: Install k3s on Agent Nodes
On each of the remaining nodes (agent nodes), run the following command, replacing <SERVER_IP> with the IP address of your server node and <NODE_TOKEN> with the token retrieved from the server node:
curl -sfL https://get.k3s.io | K3S_URL=https://<SERVER_IP>:6443 K3S_TOKEN=<NODE_TOKEN> sh -
Step 3: Verify the Cluster
After installing k3s on all nodes, verify the cluster status on the server node by running:
kubectl get nodes
This command should list all nodes in the cluster, including the master and agent nodes, showing their status as "Ready".
Managing k3s from Outside the Cluster
To manage a K3s cluster from outside the cluster, configure kubectl to access the cluster remotely. Follow these steps:
1. Set Up K3s Cluster
Ensure your K3s cluster is running and you have access to the kubeconfig file, usually located at /etc/rancher/k3s/k3s.yaml on the master node.
2. Expose the K3s API Server
Ensure that port 6443 (default port for the Kubernetes API server) is open on your firewall and accessible from your remote location.
3. Copy and Modify /etc/rancher/k3s/k3s.yaml
Copy the remote file /etc/rancher/k3s/k3s.yaml (from the server master node) to your local computer (preferably at ~/.kube/config). Modify the file to update the server field to use the external IP or DNS name of the master node:
server: https://YOUR_EXTERNAL_IP:6443
4. Configure kubectl
Test the Connection: Verify that you can connect to the K3s cluster from your local computer.
kubectl get nodes
Set the KUBECONFIG Environment Variable:
export KUBECONFIG=~/.kube/config
5. Secure the Connection
For production environments, it is important to secure the API server:
- Use a VPN: Set up a VPN to securely connect to your internal network.
- TLS Certificates: Ensure that TLS certificates are properly configured and trusted.
- Firewall Rules: Restrict access to the API server to specific IP addresses.
Example Commands
Test Connection:
kubectl get nodes
Set KUBECONFIG:
export KUBECONFIG=~/.kube/config
Edit k3s.yaml: Update the server field to use the external IP or DNS name:
server: https://YOUR_EXTERNAL_IP:6443
Copy k3s.yaml to Local Machine:
scp user@master-node:/etc/rancher/k3s/k3s.yaml ~/.kube/config
Example Output for 3 Node Cluster
NAME      STATUS   ROLES                  AGE   VERSION
node-02   Ready    <none>                 1s    v1.29.4+k3s1
node-03   Ready    <none>                 1s    v1.29.4+k3s1
node-01   Ready    control-plane,master   1s    v1.29.4+k3s1
Your K3s cluster is now ready, and you can use kubectl to manage the cluster from your machine.
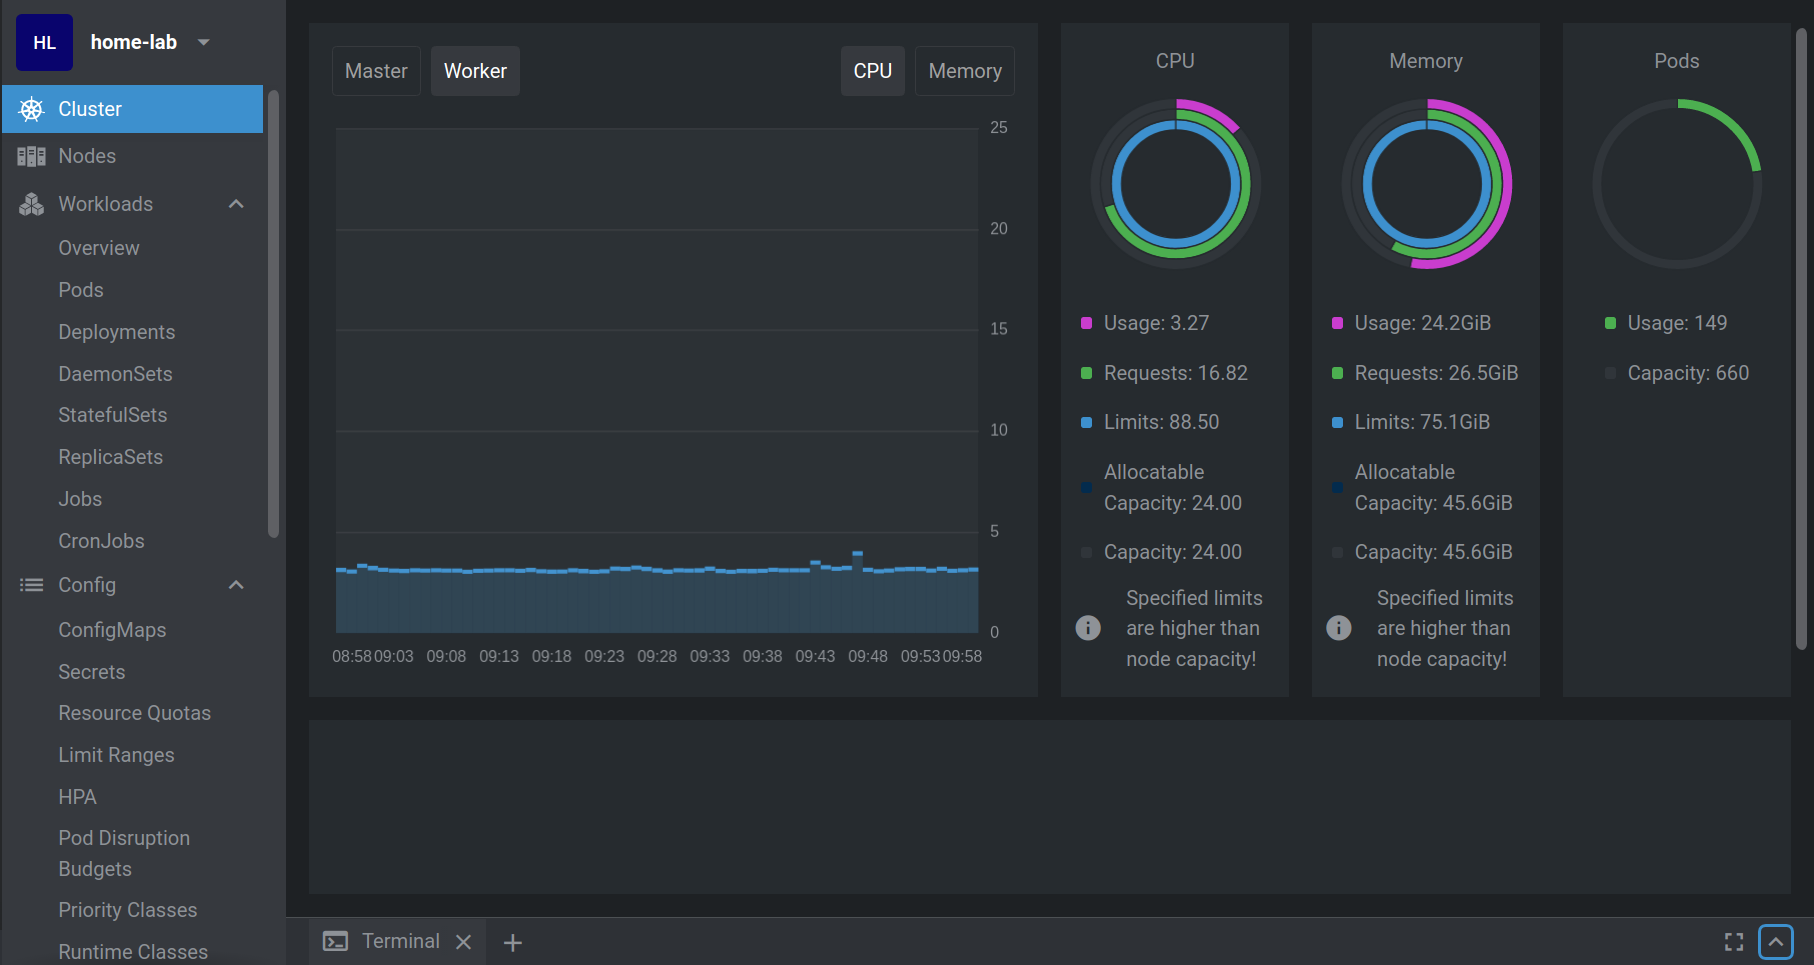
If you're interested in learning how to visually manage Kubernetes, please sign up for our blog to access the full post.
To read more, become a member of the Tracardi blog.
But don't just do it for yourself - do it for the Tracardi community. Knowing that people are reading and interacting with their content can motivate our authors to produce even more high-quality posts. ✨


